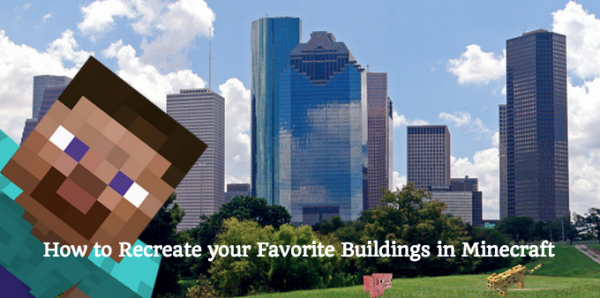
How to Recreate your Favorite Buildings in Minecraft
Have you ever passed by a building or seen something in a game or movie that made you think to yourself, “I would totally love to recreate that in Minecraft!”?
Our modern world is full of amazing architecture. What do you dream of building? Your school? A lighthouse? A mall? A castle? Minecraft makes it possible to build anything you can imagine – real or not! And with this short guide, we’ll help you get started doing just that!
Step 1: Choosing Your Project
Your first step will be choosing the project you want to take on. How complex is it? You may have quite a task ahead, but never fear! Everything is possible in Minecraft.
Step 2: Research Your Building
Once you’ve decided on the perfect building, you have to learn a little bit about it. As an example, we’re going to start off by using this cloud castle:
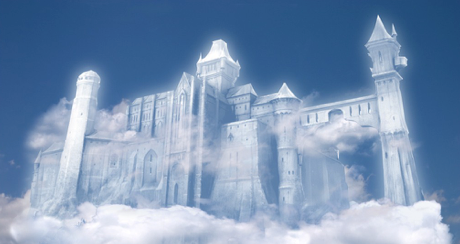
We will use this picture as our reference for planning. As you can probably guess, the actual look of the castle (not to mention the clouds!) can be a bit tricky. Fortunately, we know how awesome texture packs are! Whether you’re looking for awesome medieval resource packs or maybe even going for a more 3-D look, there are resource and texture packs to meet every need!
Step 3: Making a Plan
Can we start building yet?! If you feel confident, go ahead. But we still need to make a plan! Firstly, we have to think about location. Sure, it won’t matter too much for a cloud castle, but what if we wanted to recreate the Empire State Building in New York City? We’d have to make sure we had plenty of space available. This factor may require you to clear land or even build land up, depending on what you want to build. Just keep in mind, a little bit of pre-planning on the landscape may save you a lot of time in the long run!
Secondly, you also have to think about your materials. What will you use to build your next great creation? For our cloud castle example, we’re using diamond block for the walls and floor. You might want to set up several “tester” blocks to see which ones work the best for your creation. Once you have an idea in mind, start playing around with the texture packs we mentioned above to get the best look and feel for your project.
Step 4: Start Building Your Floor Plan
Finally, you’re ready to outline your floor plan. This means that it’s time to START BUILDING! This is probably the most important part of actually building. Whether you know exactly how your building’s floor plan is laid out in real life or not, you should design your own here. Lay out what you know first, and then start filling in the gaps with the rest. Here’s a snapshot from the very first stages of our cloud castle example:
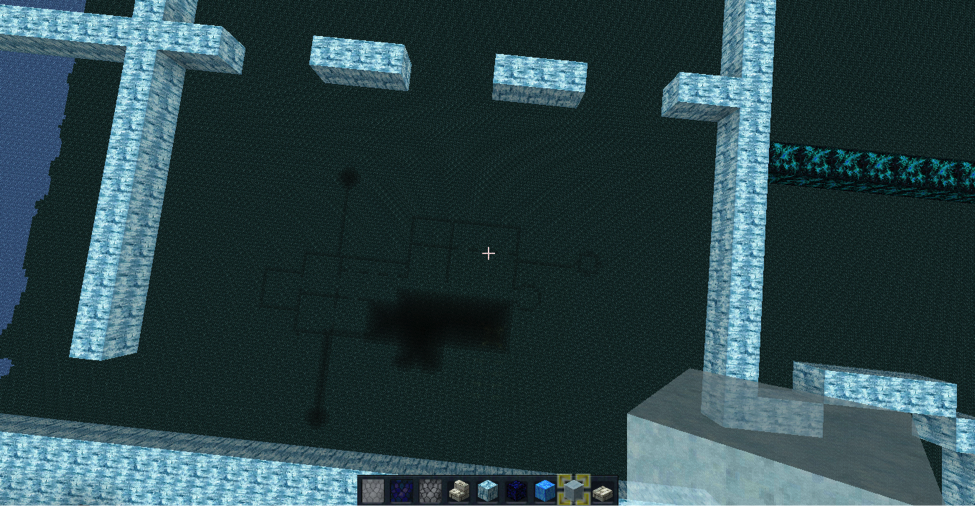
Now our cloud castle is built over the ocean. That allows for a pretty sweet effect of getting to see the floor plan taking shape as it is built. In the photo above, the front portion (which is shaded) represents a more complete building. There are 2 factors to creating the layout: the inside of the building and the outside. The cloud castle exterior will be fairly easy to guesstimate as we go, but we have no idea about the interior yet.
Step 5: Time for Interior Design
When you don’t have any guidance on laying out the interior of your structure, the internet can be a great tool. We turned to the web and did some homework. What we learned was that any respectable castle will have a great hall, a ball room, living quarters and a library, just to get started. Knowing this enables us to start planning where we’d like to put things and how the internal layout of the castle will be arranged.
Pro tip: If you’re building multiple floors, you’re going to need a stairwell.
When you’re working on your interior, be sure that you’re leaving areas for doors, walkways and windows. If you create any corridors or hallways, they should be 4 – 6 blocks wide so that you have plenty of room to add doorways (2 – 3 blocks wide). Try to keep this ratio consistent through out your building to ensure that your project looks proportional. This will help you a TON when you reach the final steps of decorating. But first…
Step 6: Building Walls
Once you’ve completed a working layout, the next step is to start putting up your walls. Keep in mind, the height of your walls should be consistent and will reflect the overall size of your project. For our cloud castle example, we have multiple floors in different areas. We use six blocks to represent each story. The seventh block up will mark the start of the next floor. In our example, the great hall takes up two floors and has a balcony from the other areas. Remember these types of details when you’re laying out your different levels. Once you get your first walls up, go ahead and complete an entire section.
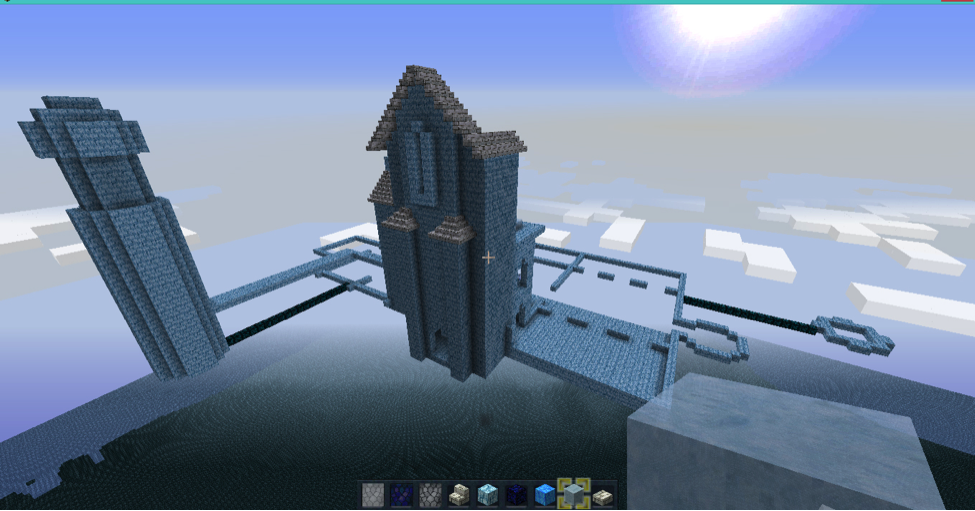
Below you’ll see an update that includes our front hall, stair well and observation tower. There’s not a lot of detail (yet!) but minor things like the roof overhang and window ledges have been completed. Of course, there’s still more to do. Notice the rest of the floor plan where the walls have not yet been built up.
Cool right?
Step 7: Build Build Build!
Congratulations! At this point you should have a frame and a working prototype for your project! Right now, it may still look like just a big block of…something…but do not despair! You have done the hard part by getting the shell built. Great work!
The rest is smooth sailing. Let’s start knocking out window openings and adding details to the outside of your existing section. This will set the tone for the rest of your building. Here you can start mixing it up with different block patterns to create details like wainscotting or more realistic brick patterns. Add as much detail as you like – after all, this is YOUR creation!
Now that you’ve come this far, just don’t stop! Get the rest of your building up and ready for the whole world to see.
Step 8: Interior Design
So you’ve finish the outside of your creation, huh? Great job! You should be really proud of yourself. But, of course, there’s still a little bit left to do. No matter how beautiful a building may be from the outside, it still needs to have something great inside as well to be truly spectacular. Let’s get inside and let your imagination run wild! Start adding your furniture, bookshelves, bedrooms, posters and more! Remember, this should look however you want it to. THIS IS YOUR CREATION! So arrange and decorate to your heart’s content.
Recreating buildings in Minecraft can be a tall, tall task. But it can be done with some dedication and planning. You really can create anything you want. The sky is the only limit, and even then you still have 256 blocks to work with! What will you create?
Bring Your Creation to Life with EnviousHost
When it comes to playing Minecraft online, there’s nothing like a bed-rock solid, lag-free Minecraft server to keep you building. Imagine creating your next masterpiece on a reliable server that doesn’t lag, buffer or go down unexpectedly. That’s what you can get with EnviousHost. And if you ever do run into issues, our team is on standby 24/7 to get you back to your game as quickly as possible.
If you’re looking to have the best gameplay experience imaginable, there’s only one choice. Register with EnviousHost today! #GameOn!!